
How to use the Kede app: your first week, step by step
A day-by-day guide to your first week with Kede: setup, daily entries, bills, savings goals, wallets, reminders and your first report.
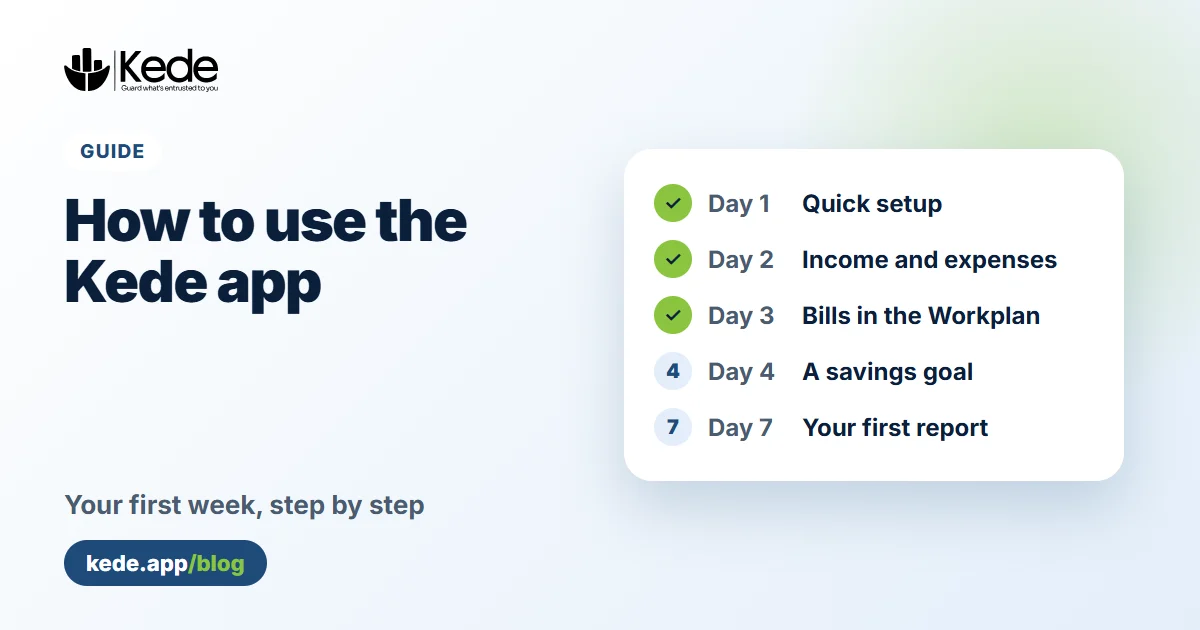
Wondering how to use the Kede app once you have signed up? This Kede app guide takes you through your first week, one small step a day. You will record income and expenses, try Quick Add, plan your bills and start a savings goal. By day seven, you will know where your money goes and how much you can save.
Day 1: Getting started with Kede
First, open kede.app and sign up with your email and a password. Kede then asks a few quick questions:
- What kind of work do you do? A salaried job, a shop, boda or taxi, a market stall, farming, studies or something else. You can pick more than one.
- Which categories fit you? Kede ticks common ones for your work, such as Sales, Stock or Transport. Untick any you do not need.
- Do you want a first savings goal? You can skip this and add one later.
Every new account starts with a 7-day Pro trial, so you can try everything. No card is needed.
Day 2: Use the Kede app to add income and expenses
This is the habit that matters most, so it comes first. Open Tracker and add what came in and what went out today. For each entry, you choose income or expense, type the amount and add a short description.
To go faster, tap the ✨ button and use Quick Add. Type a line like "sales 250k, transport 8k, lunch 7k" and Kede turns it into three entries. You check them, then save. Nothing is saved until you confirm.
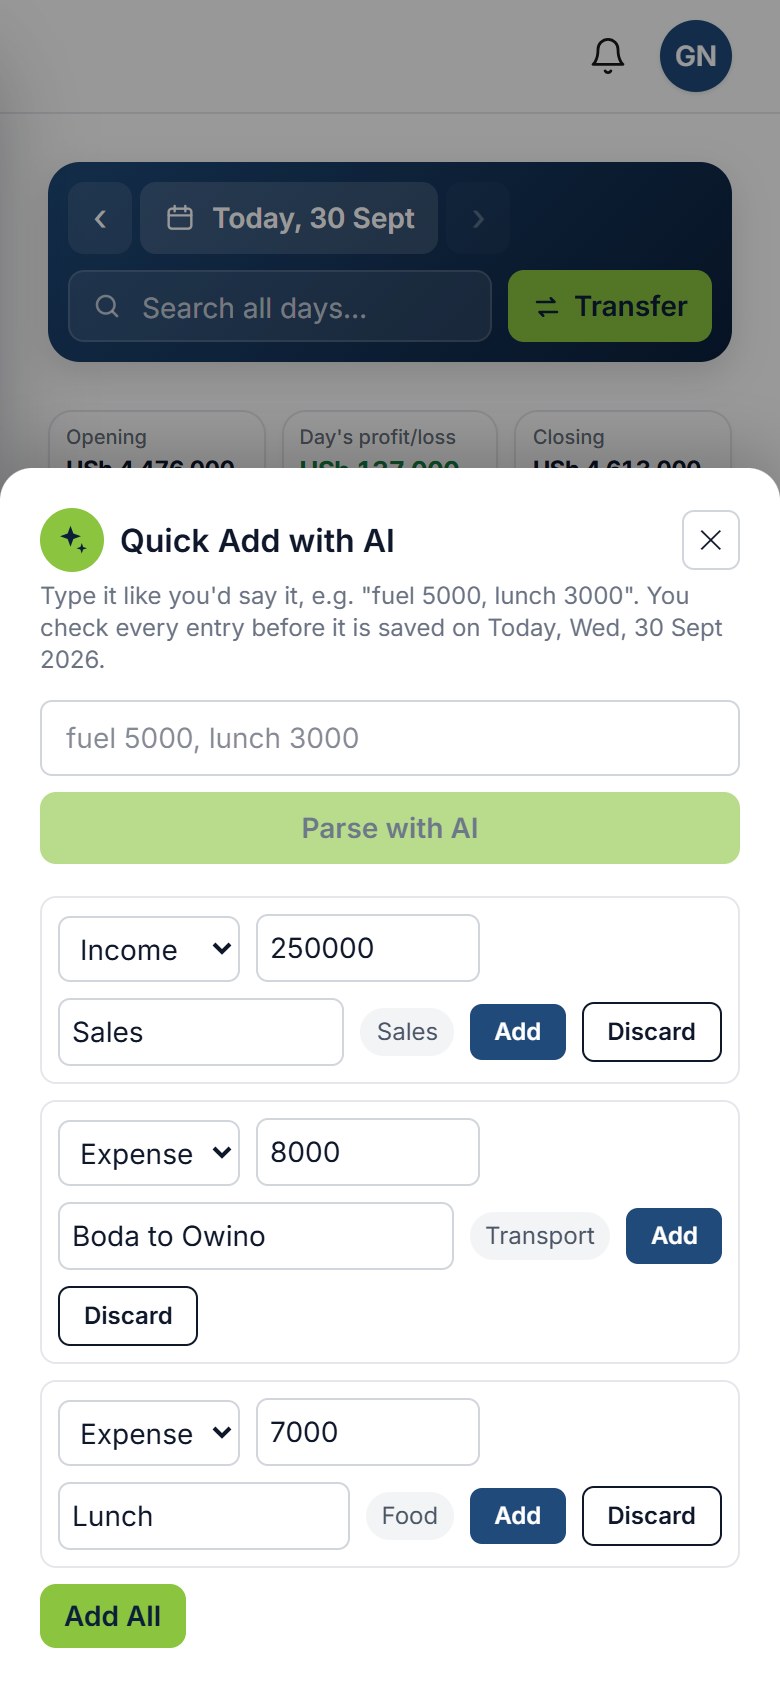 Quick Add in Kede (demo account)
Do you sell products or services? In that case, save them under Tools, then Products & Services. When you type a description, Kede suggests the item and fills in its price.
Day 3: Put your bills in the Workplan
Next, open Workplan and add the bills you must pay: rent, school fees, a loan, or wages for someone who works for you. Give each one an amount and a due date. If it comes back, set it to repeat every week, month or year.
When you pay part of a bill, record the expense in the Tracker and pick the bill under This pays toward. As a result, the Workplan always shows what is paid and what is left. You can also send your bills to Google, Apple or Outlook Calendar with the 📅 Calendar button. Google explains how calendar subscriptions refresh.
Day 4: Start a savings goal
Open Goals and add something you want, such as a phone, school fees or an emergency fund. Set the target and, if you like, a date. Kede then shows how much to put aside each week.
On Pro, tap Help me plan this. Kede looks at your real income and spending and suggests a weekly amount you can actually manage. Learn more about savings goals.
Day 5: Move money between wallets
Kede starts you with one main wallet. Add others if you keep money in different places, for example cash, mobile money and a bank account. Free accounts can have two wallets.
When you move money from one wallet to another, use Transfer, not an expense. A transfer does not change what you own, so your reports stay correct.
Day 6: Turn on reminders
Go to Settings, then Notifications, and turn them on. Kede then sends a gentle reminder at 8 pm if you have not added anything that day. On Pro, it also reminds you the day before a bill is due and on the day itself.
If you use the Android app, you can also set a PIN or fingerprint lock under Settings, then Security.
Day 7: Read your week and ask the money coach
Once you use the Kede app for a week, you have enough data for your first report. Finally, open Reports to see charts of your income, expenses and top categories. Then open Insights and ask the AI money coach a question, such as "What was my biggest expense this week?" It answers from your own records.
On Pro, Kede also sends a short weekly insight every Monday about your last seven days.
Tips to use the Kede app well
- Add entries the same day, even small ones. Small leaks add up.
- Use the same categories every time, so your reports make sense.
- Check the Workplan before you spend on anything big.
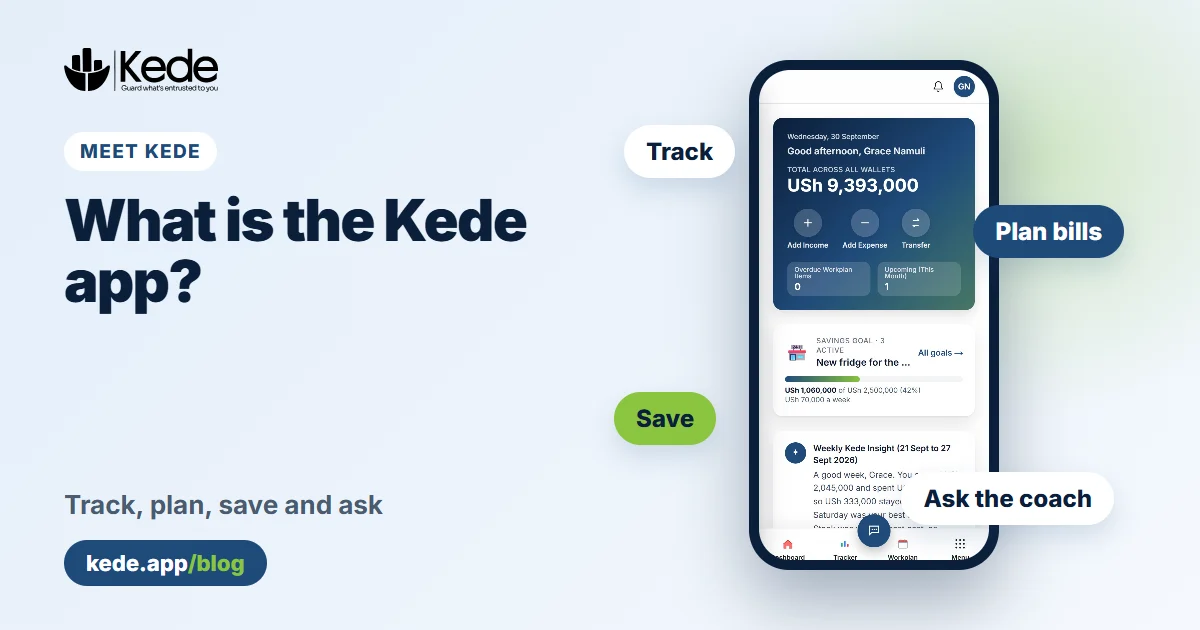
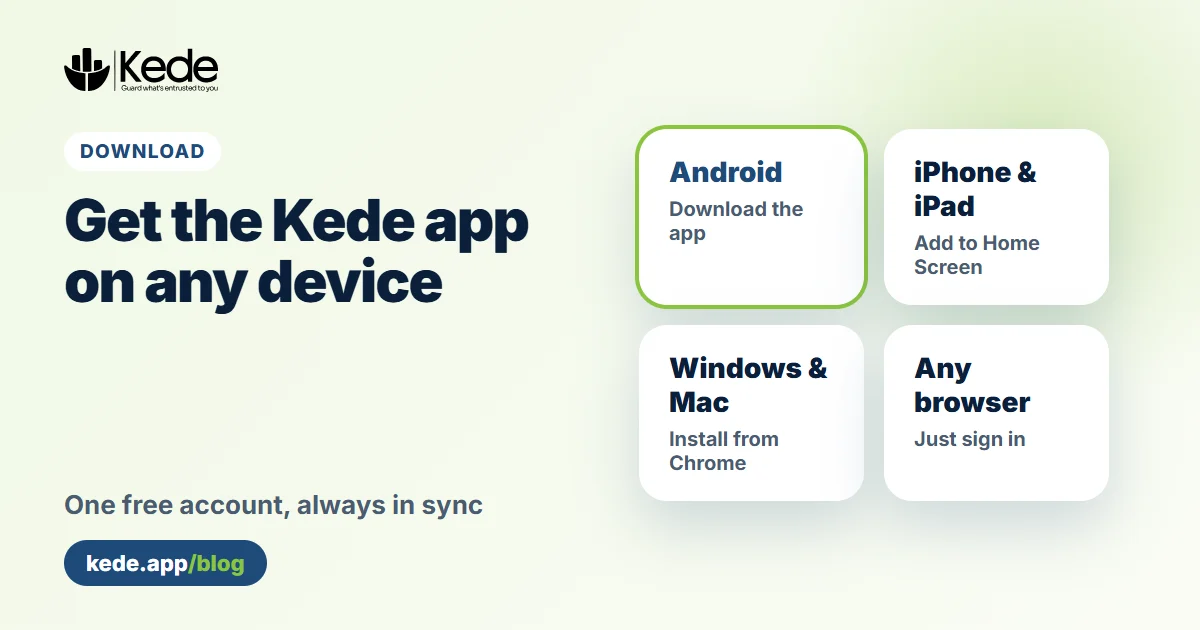
To use the Kede app fully, it helps to know all its parts. For an overview, read What is the Kede app? Do you still need to install it? Here is how to get Kede on any device.